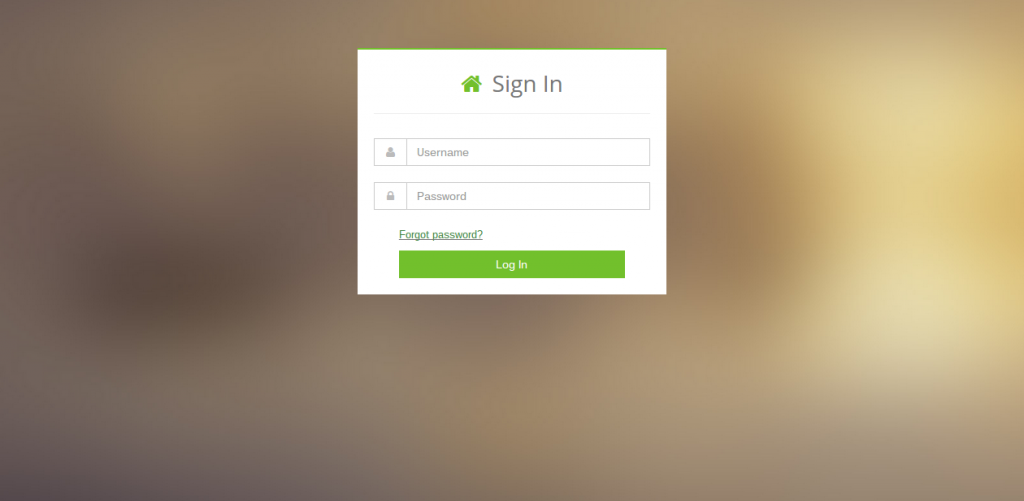
1. Login to your Connecto account.
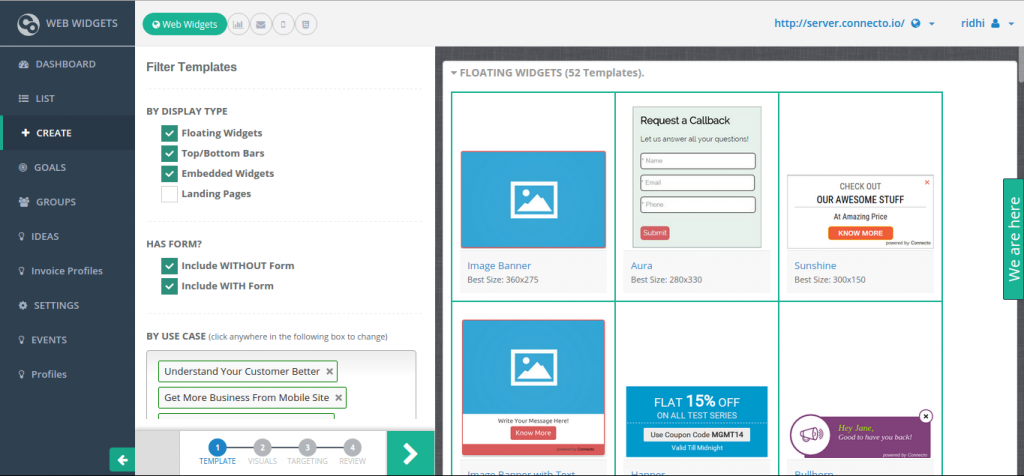
2. Go to create screen and select any template with a form
Suggested templates for sticky widget are Aura, Veronica and Mystic. In this example, I am choosing “Aura”
3. Create notification
While creating and customizing the notification you will have to take care of these three properties:
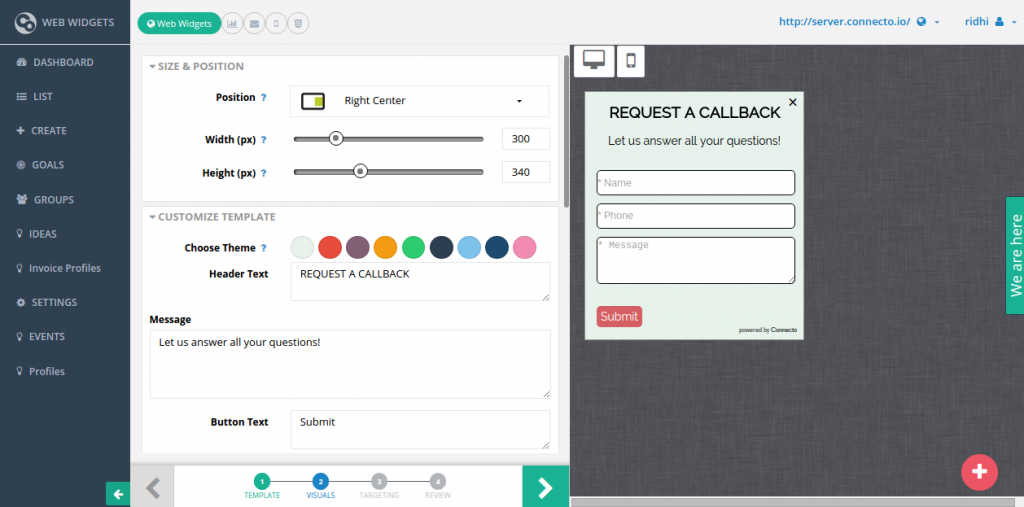
3.1 Position of the widget
The sticky widget is supported on six positions on a page: top center, right center, left center, bottom center, bottom right and bottom left. But it is mostly used by people on right center of the page. On visuals screen, you can choose the position that suits you best.
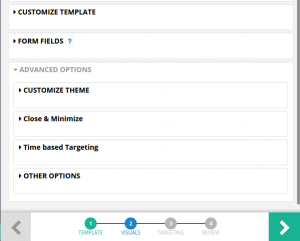
3.2 Define close behavior in close and minimize section
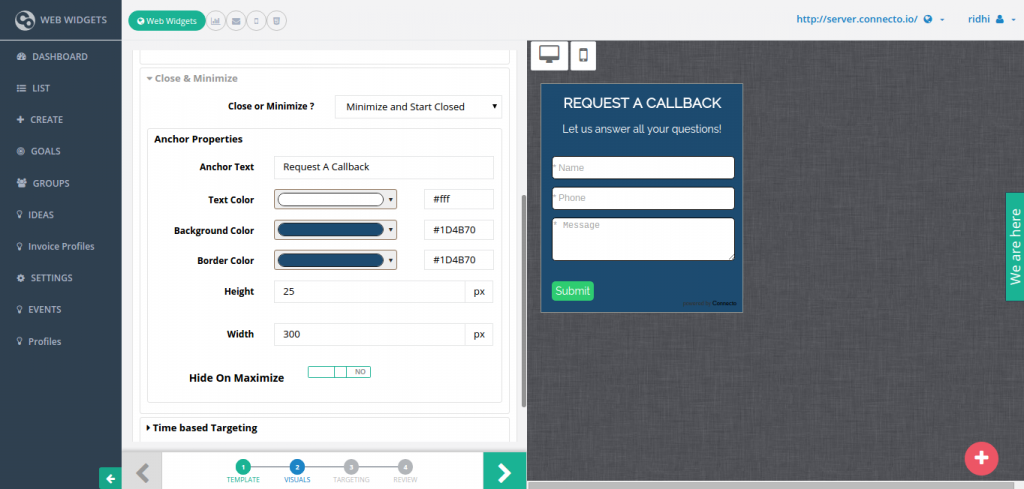
Go to close and minimize section under advanced options on visuals screen. Choose minimize & start closed
3.3 Define anchor properties
Anchor is actually the sticky text to which your widget is anchored when minimized. That means anchor is the text which is displayed on the strip that is visible when the widget is minimized.
Anchor properties help you to customize the minimize strip as per your need. Below is the description of anchor properties that you can define:
- Anchor Text- Text which is displayed on the strip visible after the widget is minimized.
- Anchor Text Color – Color of the anchor text.
- Strip Background Color – Color of the strip visible after the widget is minimized.
- Strip Border Color – Border color of the strip visible after the widget is minimized.
- Strip Height – Height of the strip visible after the widget is minimized.
- Strip Width – Width of strip visible after the widget is minimized.
- Hide On Maximize – Keep this yes if you don’t want to show the anchor text when widget is opened.
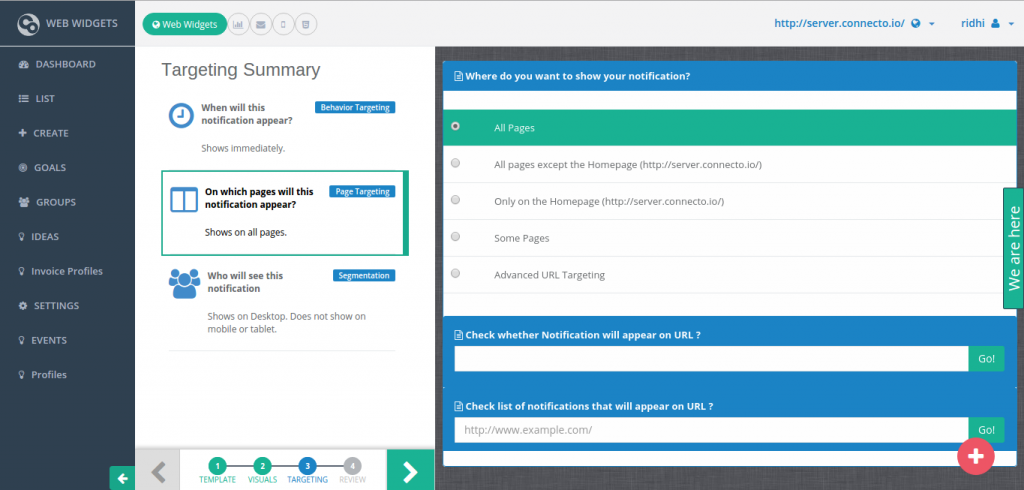
4. Go to Targeting Screen and apply suitable targeting rules to broadcast your widget to specific audience on specific pages etc.
5. Get set go!
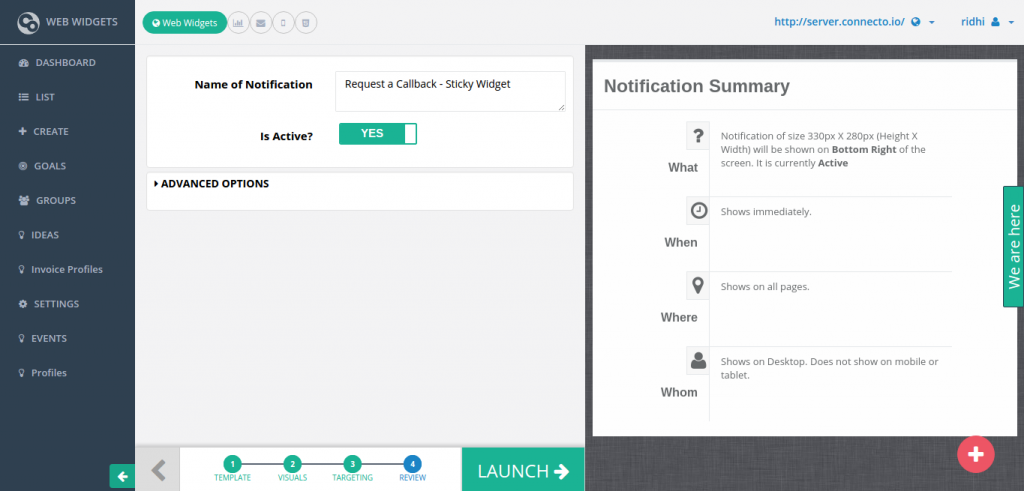
Review the summary, name the notification/ widget and launch it.
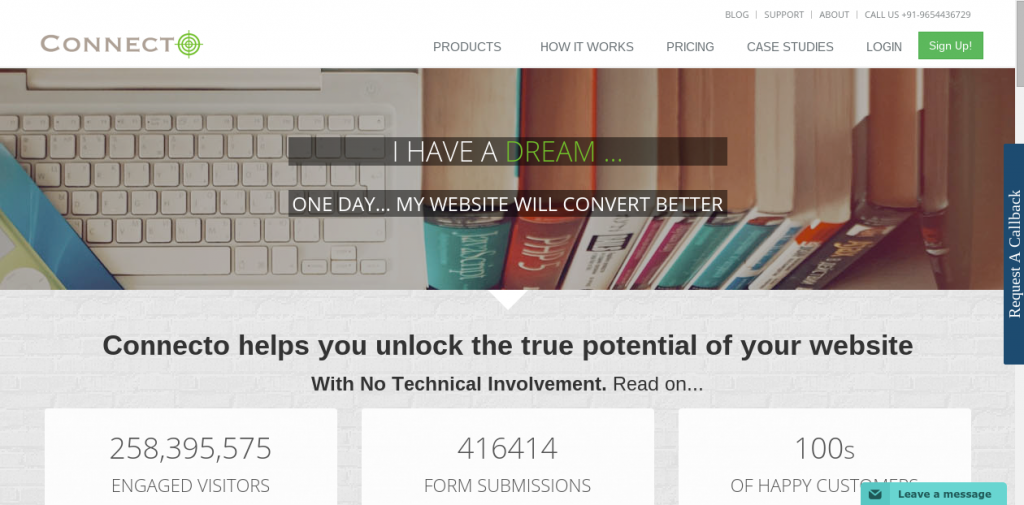
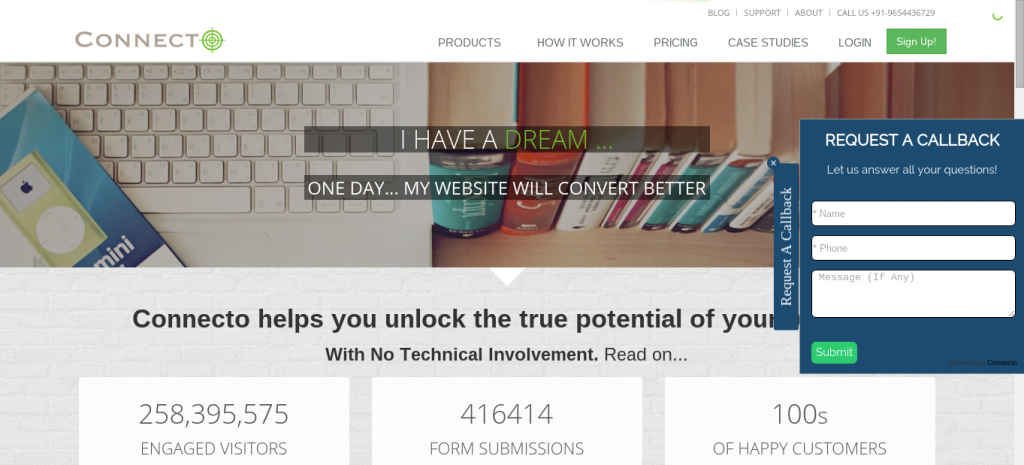
6. This is how the widget will look on your website

